Showing posts with label pear pizzazz ink. Show all posts

Sunday, 19 April 2020

INKspired Sketch Challenge 112 -


You may have come across from Julie Martin and I always look forward to seeing what she has made each fortnight.

Well they say you should keep looking at the sketch as indeed I missed a bit....blame not having my glasses on
I started with the Mountain Air Stampset that I have been enjoying (my early birthday present) that I got. Didn't use the dies on this card but will show you one later in the week that I did. Love this bundle!
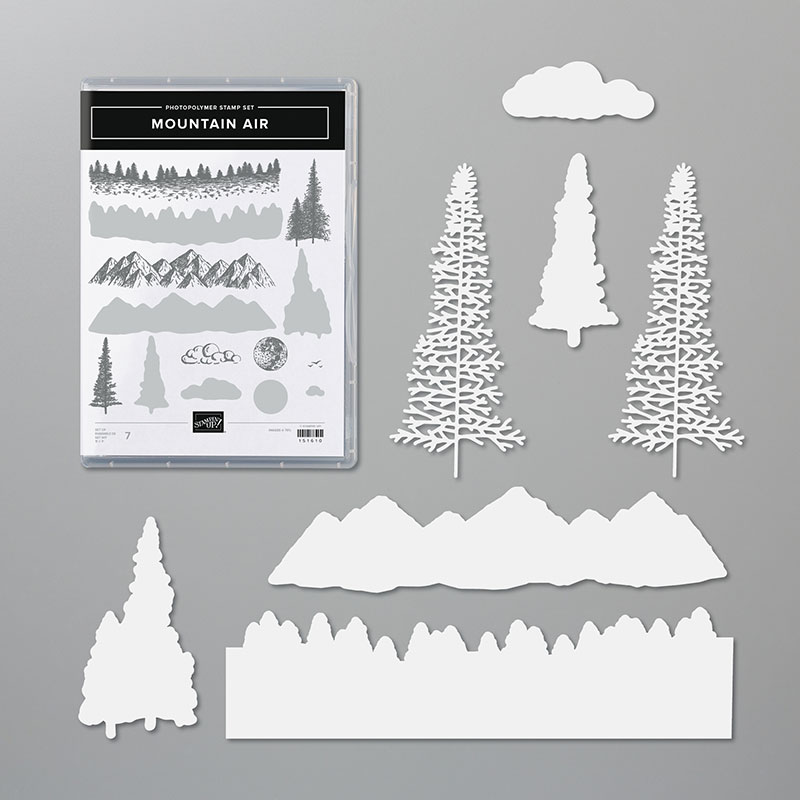


Started with Terracotta Tile cardstock as my base. On the Whisper White piece added a small piece of Basic Black to the bottom. Using the Stamparatus stampped the mountains off once onto paper and then stamped onto the cardstock - did the same with the solid mountains which is the flip side. Using Pear Pizzazz stamped the row of trees on twice to give a deeper colour. 


Then cut a smaller piece of Terracotta Tile cardstock that I embossed with the Mosaic 3D embossing folder.
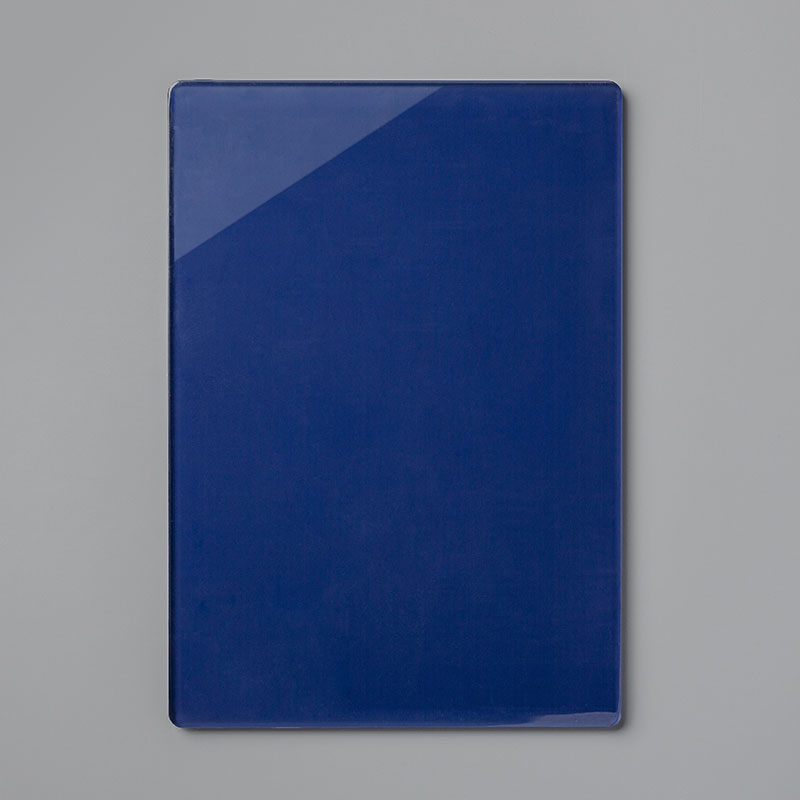
 Tip: I now write on the front of my embossing folder Blue Plate - so everyone remembers
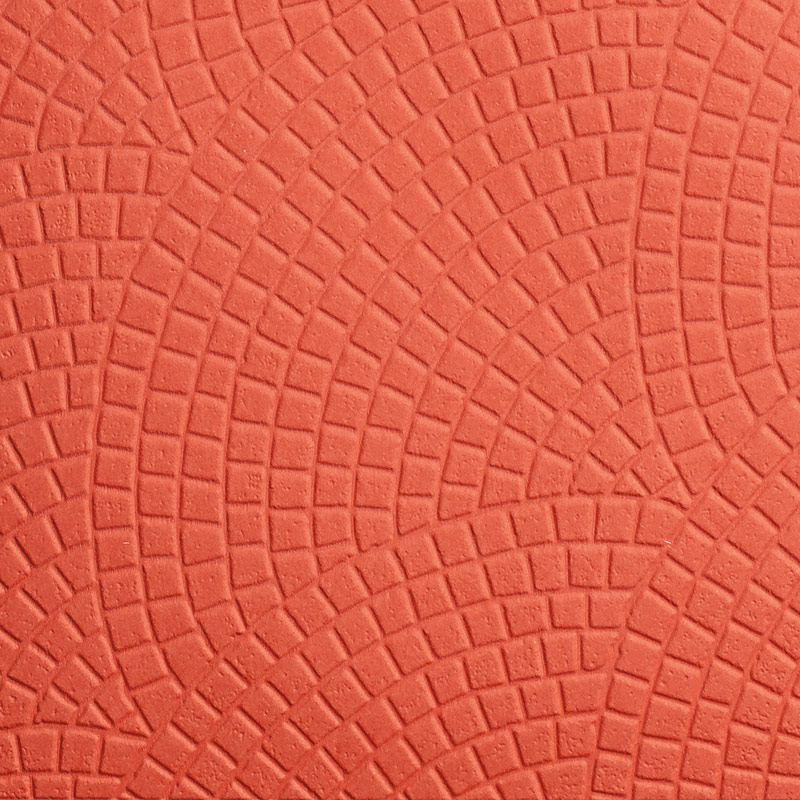


3D Embossing Folder Plate - see below.

Close up of the scene on the front of my card that has a little machine sewing on it - attaching the piece of vellum...


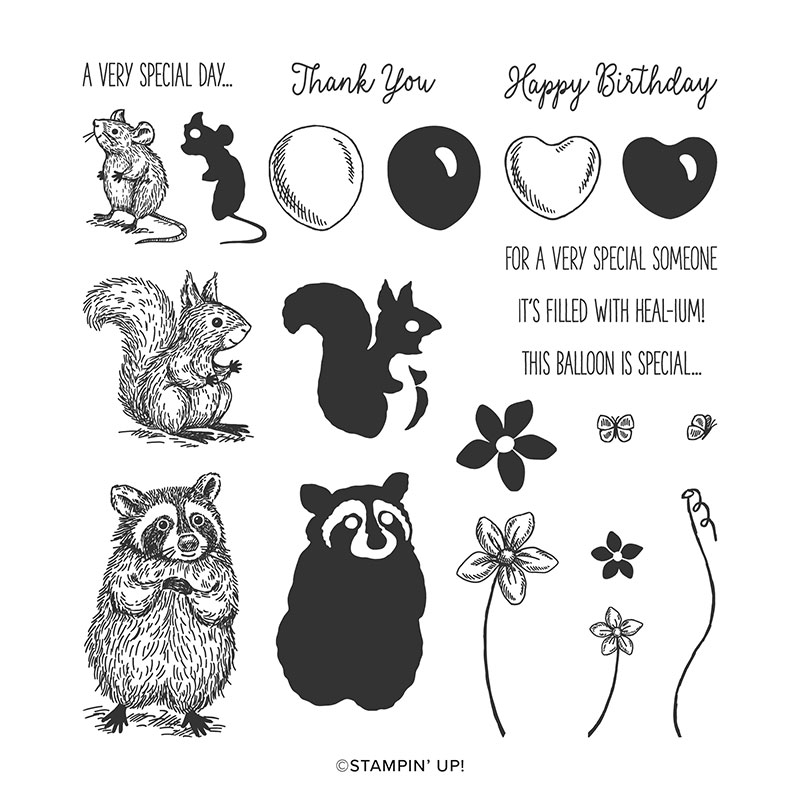
Used the words from the very cute Special Someone stampset

I even remembered to take a photo of the inside of my card!


Thank you for stopping by & now it is onto Kozue Smith 
to see her gorgeous creation


Until next time
Happy stamping
Maree xxx


Monday, 24 July 2017

SIP Challenge 108 - Fabulous Florals!

Hello everyone when I noticed that the Stamp,Ink,Paper Challenge was all about Fabulous Florals I had to join in!


Its winter here in Australia and we are looking forward to spring when the daffodils and tulips start flowering here in the Snowy Mountains of NSW. These are some of my tulips from last year nestled under the gumtrees.

So what set to use....I decided it was a great chance to use the new hostess set called Tranquil Tulips.

Started  with a base of Berry Burst with Whisper White.
Stamped the leaves in Pear Pizzazz and the tulips in 
Flirty Flamingo.

Love the Label Me Pretty stampset and the words were
done in Archival Basic Gray.
Makes it quick and easy with the new Pretty Label punch for the words.


Thank you for stopping by
Until next time
happy stamping

Maree


List Of Products:


Stamps and Dies:  Tranquil Tulips stampset, Label Me Pretty stampset 

Cardstock & DSP:   Berry Burst cardstock, Whisper White cardstock

Ink:  Flirty Flamingo ink, Pear Pizzazz ink, Archival Basic Gray

Other odds and ends required:  Stampin' Trimmer, Clear Blocks, Stampin' Pierce Mat, Snail Adhesive, Pretty Label punch,


Sunday, 30 October 2016

INKspired Sketch Blog Hop 44 -


Hi and welcome to our INKspired blog hop.
You may have arrived directly here or 
come across from the delightful
Allison who creates such cute cards.
Now here is the sketch that Teneale has given us this fortnight
I had an idea but I had to change the oval from
 laying across the card.....
The base card and layer was Flirty Flamingo.
The layer was embossed 
with Seaside Textured Impressions Embossing folder and then sponged around the edge
with Flirty Flamingo ink.

I stamped the oval with flowers from the
Number of Years Stampset (love that set).
Placed the lovely Flirty Flamingo Ruched 
ribbon across the card and then another 
piece over the top and two pearls beside
the oval.

Thank you for stopping by
Now it is onto 
Louise to see what lovely creation 
she has made.


Maree
xx

List Of Products:

Stamps:
Number of Years stampset

Cardstock & DSP:
Flirty Flamingo cardstock, Very Vanilla cardstock 

Ink:
Flirty Flamingo Ink, Pear Pizzazz ink, Sweet Sugarplum ink, Peekaboo Peach ink

Other odds and ends required:
Snail Adhesive, Seaside Textured Impressions Embossing folder, Flirty Flamingo Ruched Ribbon, Stampin' Sponges, Pearl Basic Jewels, Snail Adhesive, Stampin' Dimensionals, Oval Collection Framelits die 

Sunday, 3 January 2016

Sneak Peak - Honeycomb Happiness and Hello

Hi Everyone
I was having a crafting afternoon (its raining here )
and using some new stamp sets from Sale-A-Bration
I just love this little chicken and the cute balloons that go with him/her.
Do you notice the cute little embellishment (honeycomb) that sits on one of the balloons - how cool are they? They come in white so that you can spray them any colour that you need for your projects as well as two other colours.

I  found two challenges that my card could go in.


The words across the bottom (Little Sunshine) is from another stamp set called Hello. Love how it goes with my chicken!

Now here are the two stamp sets that I have used


Thank you for stopping by

Maree
xx

The Sale-A-Bration and the Occasions Catalogue
both start on the 
5th January . Not long to go now.

If you would like a catalogue or to host a party - give me a call

0400 883 897


Monday, 23 November 2015

Stampin' Up! On Stage Melbourne - Reason for the Season

Hi Everyone
On saturday (14th November) I was enjoying the first Stampin' Up! OnStage event which was fantastitic. I went to Melbourne but you could have gone to any of the venues around the world. There was only Melbourne or Perth in Australia.
Sat at a table with a group of delightful women from SA and we had fun making what was demonstrated and took lots of pictures. Thank you for a great day.
The delightful Joy Smelt was making tags for the NES (New Elite Stampers) team
and I felt I needed to make a card for her and then a few swaps....
So on thursday night sick as I was (had already cancelled a cardclass)
started cutting and figured that I could put them together on 
friday night in Melbourne!!
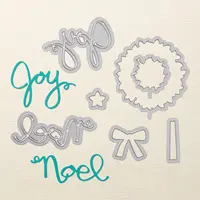
I decided to cut the flower out and stick it onto a basic black wreath cut using Wonderful Wreath framelits.
Stamped with the new  basic black archival ink.
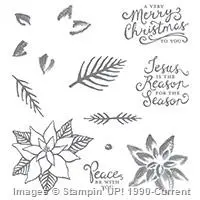
I used the ponsettia from the Reason for the Season stamp set which  I stamped on whisper white cardstock in the basic black archival ink and then used the rose red ink for the flowers and Pear Pizzazz ink for the leaves. I used the Daffodil Delight marker to colour in the centre of the flower.
I used Rose Red card stock as the base for the card front and stamped the words in the bottom right hand corner . In the picture below I have added it to a Whisper White main card  - a quick card except for the fussy cutting!

Now I am going to show you a few of the swaps I received. Unfortunately a few did not have any names attached to them so in that case I have typed unknown. If you know who made it leave their name in the comment section below.


I will put a few more up with some photos from the day next time.
I hope you have enjoyed these
If you would like to order any products that I used to make my card just click on the pictures below or contact me on the following number
0400 883 897